
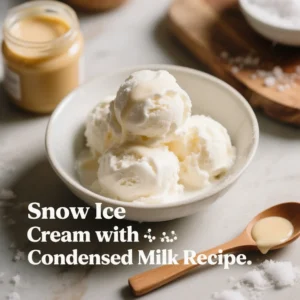
Snow Ice Cream with Condensed Milk Recipe
Make your winter days sweeter with this easy snow ice cream with condensed milk recipe. Using just fresh snow and creamy condensed milk, you’ll create a light, fluffy dessert that’s fun to make and perfect for sharing. Customize your snow ice cream with simple flavorings and enjoy a nostalgic, delicious treat that requires no cooking.
Equipment
- Large mixing bowl (preferably chilled)
- Spoon or spatula for mixing
- Clean bowl or container for snow collection
Ingredients
- 4 cups fresh clean snow
- 1 cup sweetened condensed milk
- 1 teaspoon vanilla extract Optional
- 1 tablespoon cocoa powder Optional
- Optional: chopped nuts fresh berries, or mini chocolate chips for garnish
Instructions
- Collect about 4 cups of fresh, clean snow in a large mixing bowl. Make sure the snow is free from dirt and contaminants.
- Gradually pour 1 cup of sweetened condensed milk into the snow while stirring gently to combine.
- Adjust the texture by adding more snow if too wet, or more condensed milk if too dry or not sweet enough.
- Add any optional flavorings such as vanilla extract, cocoa powder, or mix-ins like nuts or berries.
- Stir until the mixture is creamy and well combined.
- Serve immediately for best texture and flavor.
Notes
Use only fresh, clean snow from safe locations away from pollution and animals.
Serve snow ice cream immediately to enjoy its light, fluffy texture.
Avoid refreezing as it may become icy and lose creaminess.
Experiment with optional mix-ins to customize flavor and texture.